
3D Living Room Design in Ajmer (2026): Cost Bands, the Real Process & Mistakes to Avoid
3D living room design in Ajmer: how renders are made, published 2026 cost bands, timelines, revision rounds and the mistakes that waste money.
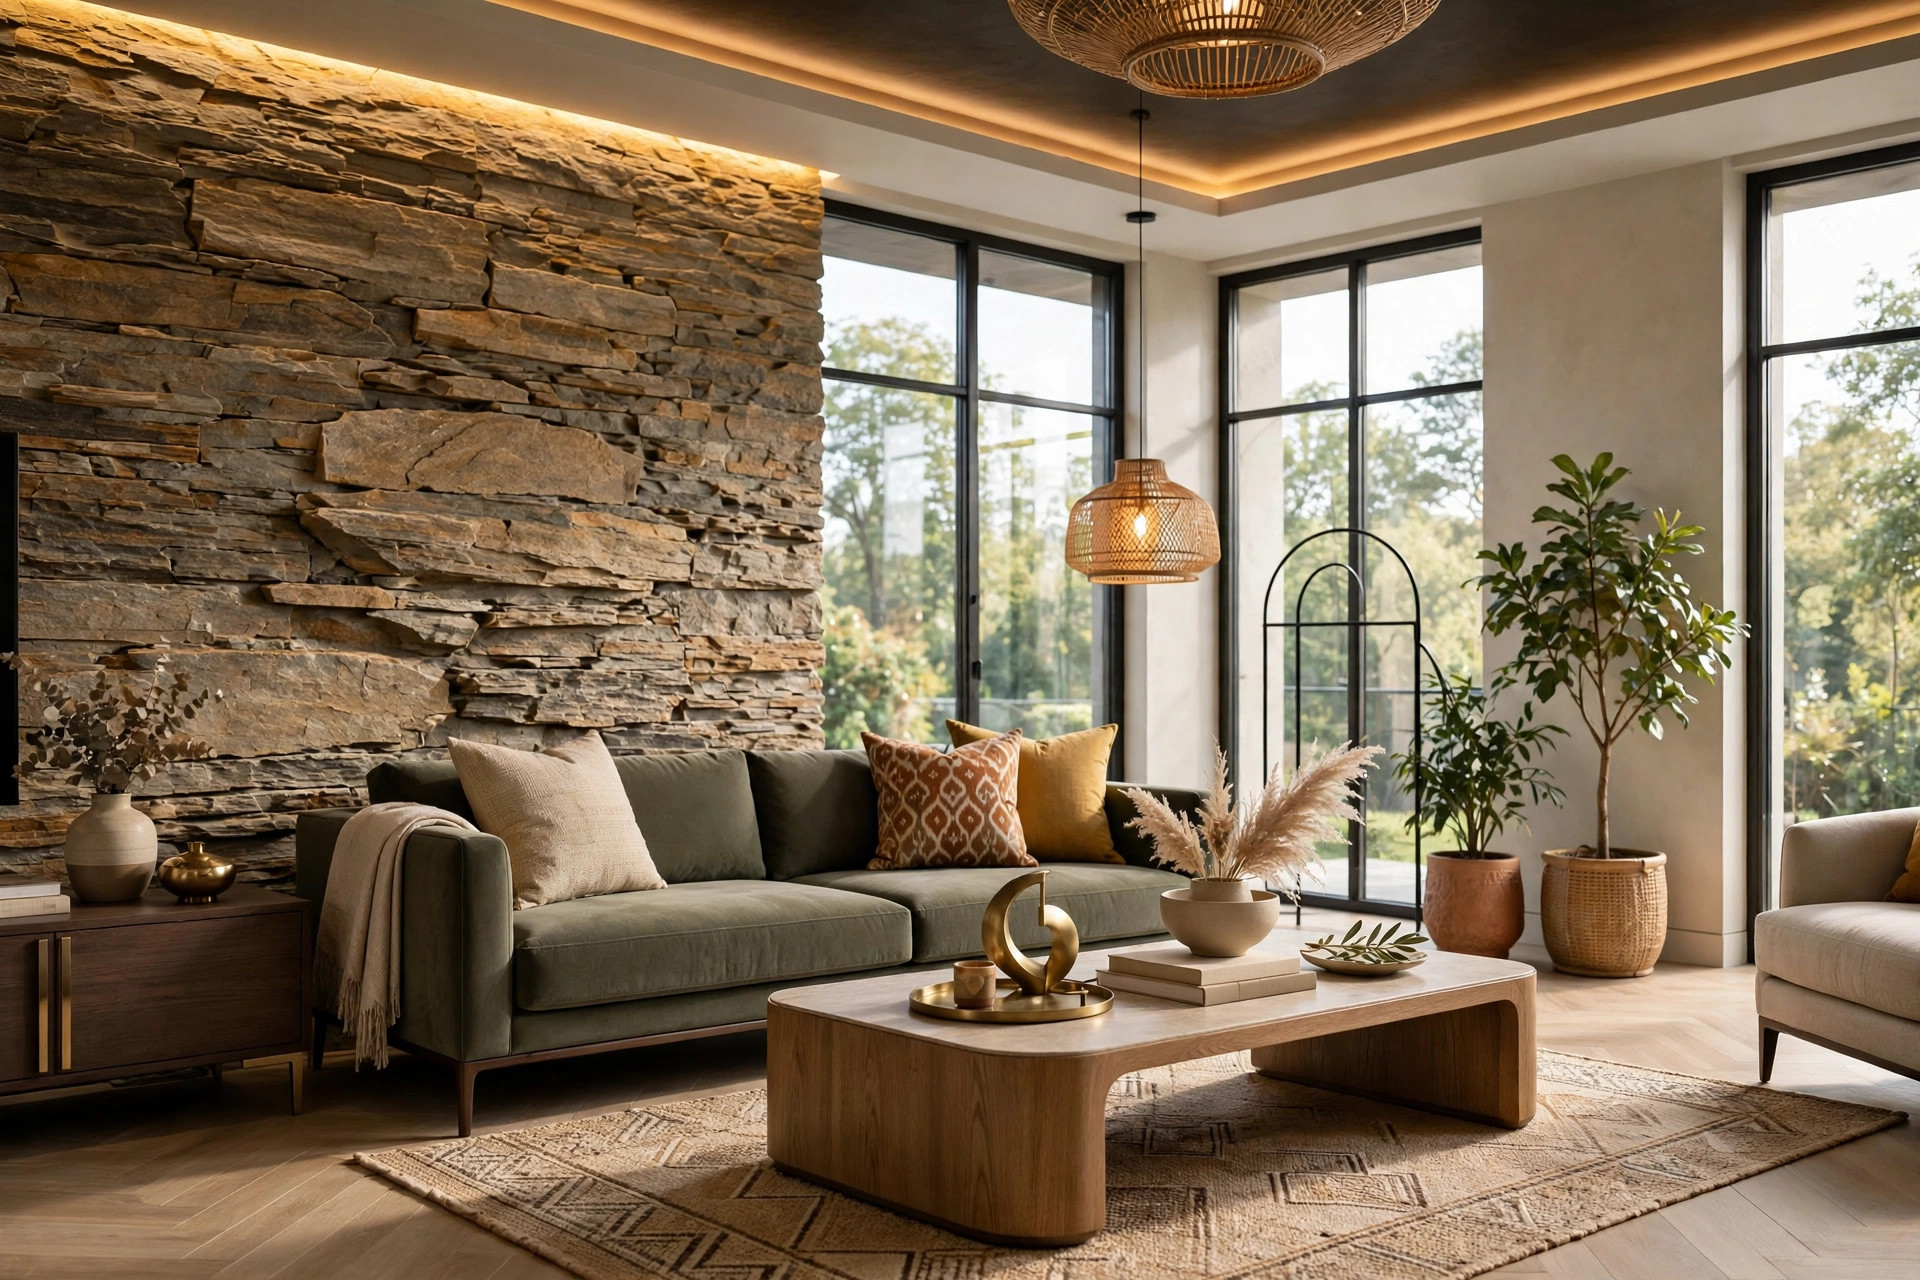
Every expensive living room mistake in Ajmer gets made on a 2D drawing the family could not quite picture — the sofa that ends up blocking the balcony door, the TV wall that catches the brutal west glare at 4 pm, the false ceiling that hangs just low enough to make the room feel like a cave. By the time the furniture is ordered and the ceiling is built, fixing any of these costs real money. A 3D living room design exists to move all those decisions to the stage where changing them costs nothing: the screen. Here is what 3D living room design in Ajmer actually involves in 2026 — how the renders are made, what they cost, how long they take, and how to tell a serious visualiser from someone selling you wallpaper on a render.
Short answer: A 3D living room design is a photorealistic visual of your room, built to scale from your measurements, so you can approve furniture, colours, lighting and materials before buying or building anything. The process runs in review stages — model, grayscale check, coloured views, final high-resolution images — with 1–2 revision rounds at each checkpoint. Published 2026 Indian bands run roughly ₹12,000–₹18,000 for a basic living room render and ₹29,000–₹45,000 for a premium one (3–4 views), with about 5–7 days' turnaround. No Ajmer-specific band is published; tier-2 quotes typically sit at or below the lower end.
3D Living Room Design in Ajmer: How the Renders Are Actually Made
A 3D living room render is not one picture — it is a small production with a fixed order of operations. Rendering studios publish remarkably similar pipelines, and knowing the sequence tells you exactly where you get to intervene. The widely published living room pipeline (OmegaRender's guide) runs in eight steps:
| Step | What happens | Why it matters to you |
|---|---|---|
| 1. Measurements | Walls, windows, doors and architectural features measured precisely, to scale | A render built on wrong dimensions is fiction — every later step inherits the error |
| 2. Software | The room is built in tools like SketchUp, 3ds Max or AutoCAD | Industry-standard tools mean the file can be handed to any professional later |
| 3. 3D model | Walls, ceiling, openings modelled to scale | This is the "clay" stage — geometry before beauty |
| 4. Furniture & decor | Sofas, tables, TV unit, lighting fixtures placed at real dimensions | This is where your actual sofa size goes in, not a catalogue guess |
| 5. Textures & materials | Wood grains, fabric weaves, metallic finishes applied | A wall that reads "beige" in a sample card reads completely differently on a full wall |
| 6. Lighting | Natural sunlight through your windows + artificial fixtures simulated | Lighting is what separates a realistic image from obvious CGI (Bella Virtual) |
| 7. Camera angles | Usually one hero view per room plus secondary views | A hero view sells the room; secondary views reveal the awkward corners |
| 8. Render + post-processing | High-resolution image generated, then colour, contrast and clarity refined | The polish pass that makes it look like a photograph |
A free walkthrough of this exact chain exists on YouTube — Deepak Verma CAD Softwares' "Realistic Interior Rendering in SketchUp" (SketchUp 2025 + V-Ray 7, in Hindi) covers interior modelling, furniture placement, V-Ray materials, natural sunlight and window lighting, artificial lighting, camera and exposure, shadows and reflections, denoiser settings, and the final render. If you want to see what you are paying for before you pay for it, that video is the honest preview: the tools are learnable, but the judgement — scale, light, material behaviour — is what a professional brings.
The point Bella Virtual makes, and the one that justifies the whole exercise: most clients cannot read a floor plan the way a designer does. A plan shows intent; a render shows reality. When you can react naturally to what you see, decisions happen at the project stage where changes are cheap — in the model — rather than after construction starts, when they are expensive.
The Review Checkpoints That Protect Your Money
Here is the part most Ajmer families never hear about, and it is the part that actually decides whether 3D design saves or wastes your money. Professional studios do not show you one finished picture; they show you staged checkpoints, and each checkpoint is a cheaper place to be wrong.
Stage 1 — the grayscale (clay) render. The room appears with all the main objects in place but no colours, materials or textures. It exists so you can check geometry, furniture placement and camera angles early, when changes take minutes. ArchiCGI's published workflow puts these on day 1 or 2 of the job. At this stage you are answering one question: does the layout work? Can people walk from the door to the sofa without squeezing past the TV unit? Does the dining corner breathe?
Stage 2 — the coloured proof. Materials, textures, lighting and decor go in; coloured proofs arrive roughly 1–2 days after the grayscale (ArchiCGI). Now you are answering a different question: does it look right? Is the veneer too dark for a west-facing room? Does the false ceiling's cove light actually wash the wall the way the designer promised?
Stage 3 — final renders + post-production. Approved images are rendered at high resolution — Bella Virtual delivers 4K, print-ready files — with colour, shadow and clarity refinement.
Two rules govern these checkpoints, and both are published norms, not opinions:
- 1–2 revision rounds per checkpoint. Grayscale, coloured proofs, final images — each stage usually allows one or two rounds. Give your comments as one consolidated list at each stage; dripped feedback is what drags timelines.
- Changes after the final render cost the most. ArchiCGI is explicit: late changes are the most time-consuming ones, because materials, lighting and post-production have to be redone. So front-load your strong opinions into the clay stage, where they are free.
For a standard set of 3–5 interior images, published timelines put final results at 3–6 business days from an approved brief (ArchiCGI), and a single room with 2–3 views at 5–7 days (NoBroker's 2026 guide). The calendar variable is usually you — the brief and your feedback speed — not the renderer.
3D Living Room Design Cost in Ajmer: Published 2026 Bands
No Ajmer-specific 3D living room rate is published anywhere verifiable, so here are the published 2026 Indian bands from NoBroker's 3D interior design pricing guides, with the honest framing: tier-2 cities like Ajmer typically quote at or below the lower end of these bands, freelancers quote below studios, and many firms adjust or waive design fees when the 3D work is bundled with execution (3D is commonly offered standalone or as part of a package — interioratoz).
| Living room render quality | Published 2026 band | Views included | What changes with quality |
|---|---|---|---|
| Basic | ₹12,000–₹18,000 | 3–4 angles | Good detailing, basic lighting |
| Standard | ₹19,000–₹28,000 | 3–4 angles | Better finishes, refined lighting |
| Premium | ₹29,000–₹45,000 | 3–4 angles | Photorealistic textures, advanced lighting, detailed accessories, extra revision rounds |
Why does the living room cost more than a bedroom (basic bedroom: ₹8,000–₹12,000)? Because it is the most complex room in the house to visualise — overlapping zones (seating, TV/media wall, dining overlap, entry circulation), the most furniture pieces, and false-ceiling lighting layouts that need separate simulation. Coohom's interior rendering guide makes the same point from the other side: kitchens and living rooms benefit the most from 3D because they involve complex layouts and multiple materials. The rooms that gain the most are, fairly, the rooms that cost the most to render well.
The add-ons worth knowing about, same published source:
| Add-on | Published band | When it is worth it |
|---|---|---|
| 360-degree views | ₹3,000–₹8,000 per room | You want to look around, not just stare at three fixed angles |
| Day/night renders | ₹2,000–₹5,000 per view extra | A west-facing Ajmer living room lives two lives — check both |
| Alternate material scheme | ₹1,500–₹4,000 per scheme | Comparing "warm wood" vs "cool grey" without re-doing the whole job |
| Furniture customisation | ₹500–₹2,000 per piece | Your exact sofa model instead of a library lookalike |
| Walkthrough video | ₹50,000–₹2,00,000 | Premium projects and villas, not a 2BHK living room |
Two cautions before you budget. First, GST at 18% is additional on these published bands — confirm whether a quote includes it. Second, houseyog's consultancy-context figure (₹30–₹50 per sq ft for 3D interior designing) exists but belongs to a design-consultancy engagement, not a standalone per-room render — do not compare it directly with the per-room bands above. For the bigger budgeting picture, our bedroom interior design cost guide for Ajmer breaks down how room costs stack up, and the 2D/3D floor plan design guide covers the drawing stage that feeds every render.
5 Mistakes That Make a Living Room Render Useless in Real Life
Coohom's interior rendering guide lists the mistakes professionals see homeowners make again and again. Applied to Ajmer living rooms, they read like a checklist of everything to refuse:
1. Ignoring real furniture dimensions. The render shows a 3-seater; the shop's actual sofa is 15 cm wider; suddenly the passage behind it does not exist. Hand the designer the actual product dimensions — model numbers, measured widths — not catalogue guesses. A render is only as honest as the dimensions inside it.
2. Unrealistic lighting setups. A living room rendered in soft, neutral daylight tells you nothing about your actual room if your big window faces west. Ask for the lighting that matches your orientation and, for a west-facing Ajmer room, consider the day/night add-on so you see the 4 pm glare before the curtains are bought.
3. Materials that exceed the renovation budget. Italian marble on the TV wall in the render, vitrified tile budget on site — the render becomes a fantasy you cannot afford to build. Ask for one material scheme priced to your actual budget; the ₹1,500–₹4,000 alternate-scheme add-on is cheaper than a redesign.
4. Not reviewing circulation paths. Walk the plan on the render — from the main door to the sofa, sofa to balcony, dining to kitchen. If a view shows anyone squeezing past furniture, flag it at the clay stage. Circulation errors are the most expensive to fix after execution and the cheapest to fix in grayscale.
5. Approving only one camera angle. One flattering hero view can hide an entire awkward corner. Professionals review at least three viewpoints per room (Coohom) — insist on the same. The standard 3–4 views in a living room package exist precisely for this.
Coohom's key insight ties them together: the biggest mistake is treating renders as decoration rather than a decision-making tool. A render you cannot argue with is wallpaper. A render you interrogate — dimensions, light, budget, movement, angles — is the cheapest structural engineer your living room will ever have.
How to Judge a 3D Living Room Designer Before You Pay
No directory ranks Ajmer's 3D visualisers for you, so judge the process, not the promise:
- Ask to see grayscale samples. A designer who shows clay renders is checking geometry before selling colour. One who only shows finished beauties may be skipping the stage where layout errors are caught.
- Get revision rounds in writing. The published norm is 1–2 rounds per checkpoint. "Unlimited revisions" from a freelancer sounds generous and usually means no process at all.
- Ask for deliverable specs. Resolution (4K print-ready is the professional bar), file formats, and who owns the 3D model file. If you change designers mid-project, the model file is what you are buying.
- Check the portfolio test. Anyone can render a beautiful living room; the test is whether their portfolio includes real built photos alongside renders — proof their designs survive contact with masons and budgets. Our guide to the best interior designers in Ajmer for flats covers how to read a portfolio beyond the pretty pictures.
- Ask how they start. "Send your measurements and references" (OmegaRender's step 1) is the right answer. "Pick a style from our templates" is the wrong one — template geometry is why renders fail on real plots.
- Red flags: full payment demanded before the coloured proof stage; no clay stage at all; quotes that cannot name what is included (views, revision rounds, formats). A serious visualiser itemises all three.
Frequently Asked Questions
How much does 3D living room design cost in Ajmer?
Published 2026 Indian bands: basic living room renders ₹12,000–₹18,000, standard ₹19,000–₹28,000, premium ₹29,000–₹45,000 — each with 3–4 views (NoBroker). No Ajmer-specific band is published; tier-2 quotes typically sit at or below the lower end, and bundling design with execution often reduces the fee. Extras (360° views, day/night renders) add on, and GST at 18% is usually additional.
How long does 3D living room design take?
A single room with 2–3 views runs about 5–7 days (NoBroker); a 3–5 image set runs 3–6 business days — grayscale renders on day 1–2, coloured proofs 1–2 days after (ArchiCGI). The timeline variable is usually the client: a sharp brief and one consolidated feedback list per checkpoint keeps the job on schedule.
What software is used for 3D living room design in India?
SketchUp + V-Ray and AutoCAD + 3ds Max are the standard stills pipeline; Lumion and Enscape are used for walkthroughs, and Blender is the free option (interioratoz). A free Hindi YouTube walkthrough of the full SketchUp + V-Ray interior pipeline exists from Deepak Verma CAD Softwares — useful if you want to see exactly what the process involves before hiring.
Can I change furniture and colours after seeing the 3D render?
That is the entire point — expect 1–2 revision rounds at each checkpoint (clay, coloured proof, final). Give feedback as one consolidated list per stage; alternate material schemes cost roughly ₹1,500–₹4,000 per scheme (NoBroker). Push your big changes into the grayscale stage: changes after the final render are the most time-consuming and expensive.
Is 3D design worth it for a small living room in Ajmer?
Yes — small rooms are where scale errors cost the most, and living rooms benefit the most from rendering because of their complex layouts and multiple materials (Coohom). A render shows whether the sofa, TV wall and passage actually coexist before you order furniture or build a false ceiling. One prevented mistake pays for the whole render.
Book Site Consultation
A living room render is only as honest as the measurements underneath it. Book a site consultation and Design Plus will measure your Ajmer living room, model it to scale, and walk you through the design in 3D before you spend a rupee on furniture, false ceiling or materials — so what you approve on screen is what your family actually lives in.
Planning a project in Ajmer?
Get a free site consultation with our architects — honest scope, transparent pricing, no obligation.
Book Free Site Consultation